How to Use Mobilize
Mobilize is our platform for hosting official campaign events. Through Mobilize, you can host in-person or online events that connect with the campaign. You’ll be able to track RSVPs, follow up with attendees, provide feedback, and share your event publicly with other Democrats in your community or privately with only the people you want.
In the final stretch of the campaign, we need to you taking action to get millions of voters supporting VP Harris and Governor Walz. Mobilize is an important tool that helps us understand our campaign’s impact. So any time you host an event for Harris, please make sure to create the event, track attendees, and close the event once you’re done!
HOW TO CREATE AN EVENT
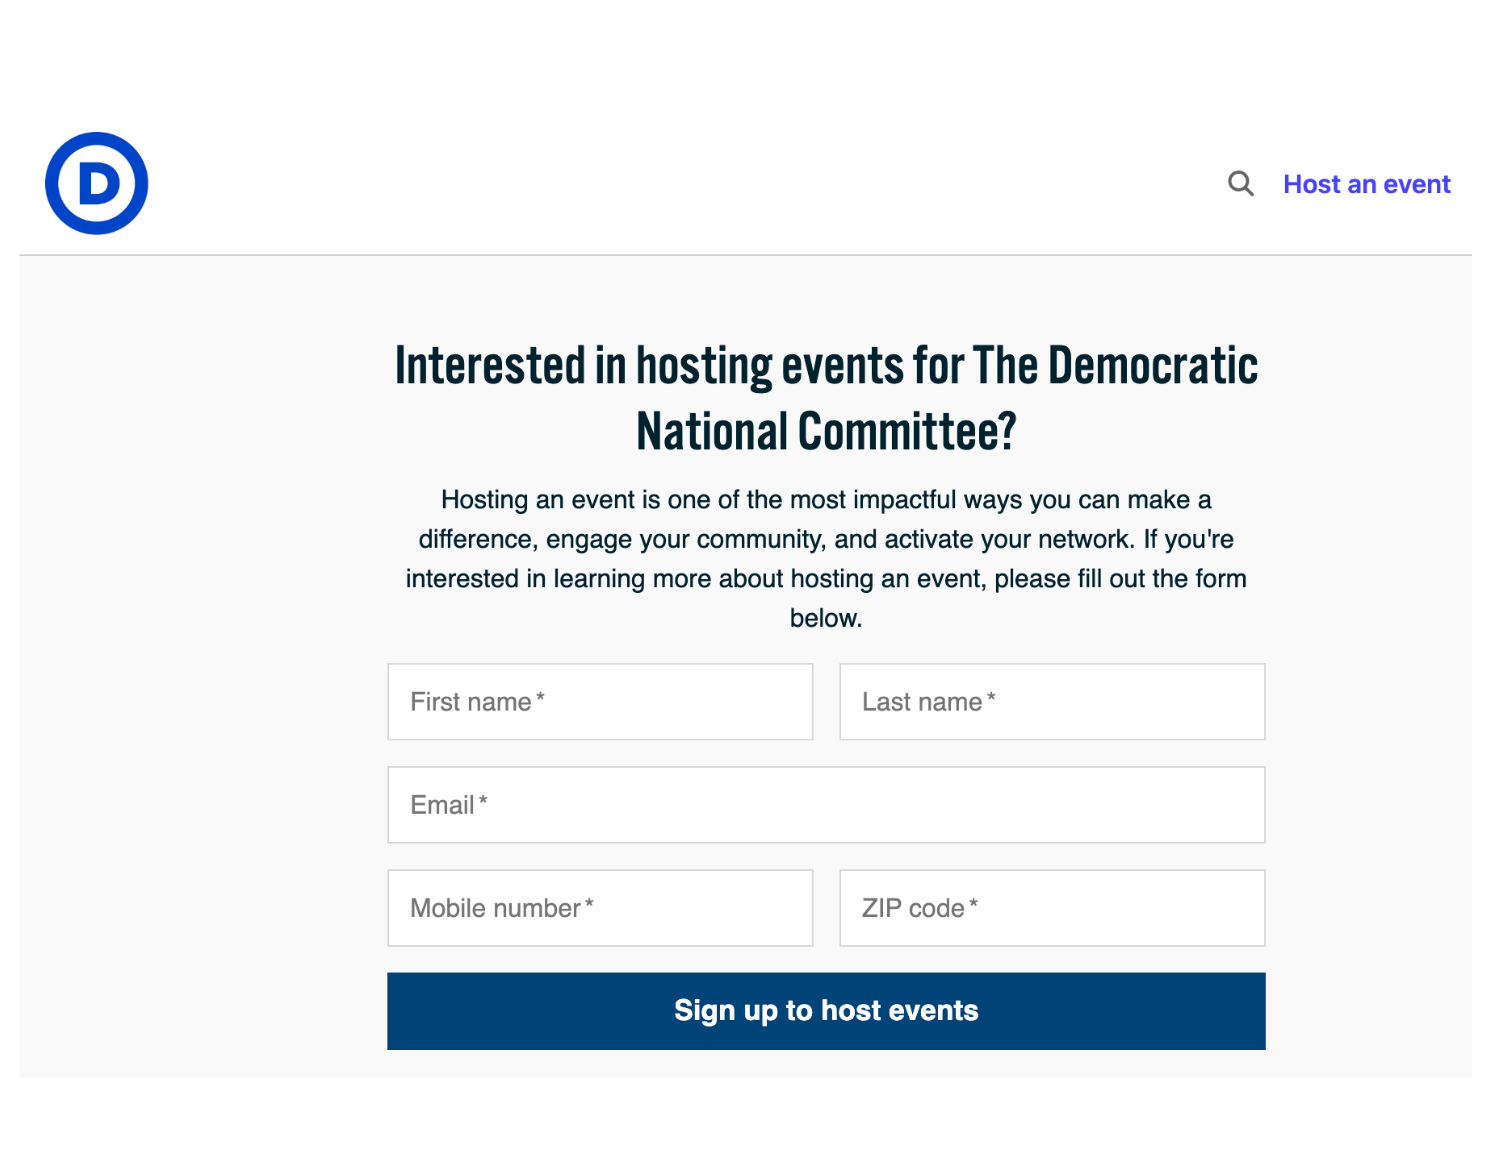
Step 1: Select “Host an Event”
Go to events.democrats.org and select “Host an Event.” Or use one of our quick links to host a Phonebank, or Debate Watch Party.
Step 2: Fill out a form to get host approval
You won’t need to do this if you use one of our event quick links above. Approvals generally take 24 – 48 hours.
Step 3: Create your event page
You can provide details about your event. If you are doing the event online, you’ll need to provide your own Zoom link.
Basic info: Add event title and custom description. Choose something to make it your own!

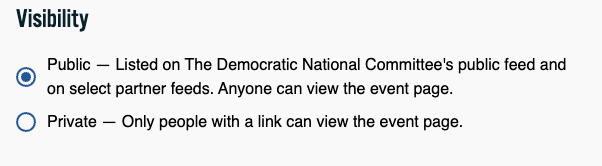
Visibility: Select “Public” or “Private.” Making it public will allow any Democrat to search for and find it among events in their area.
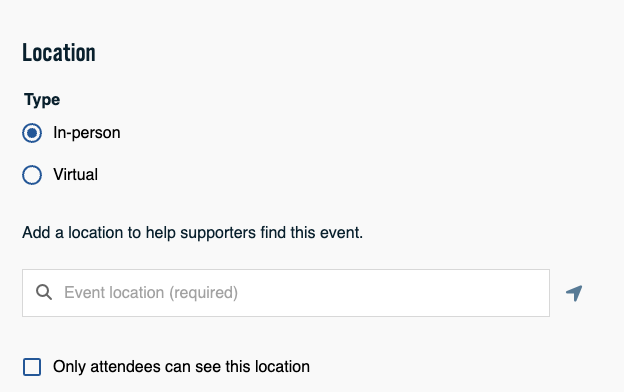
Location: For in-person events, add a complete street address. For virtual events, you can add a zip code or city/state to show the event to supporters in a particular location.
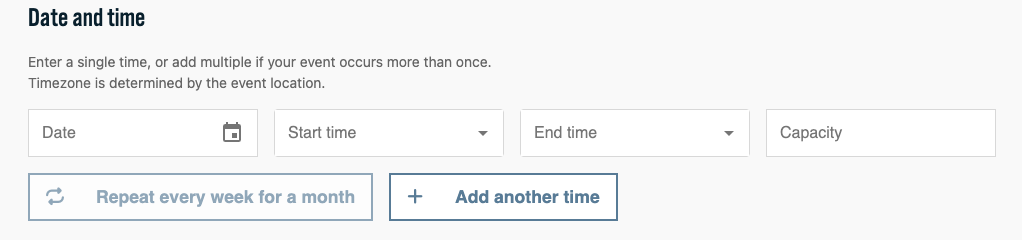
Date & time: Add an event date, start and end times, and video call link if applicable.
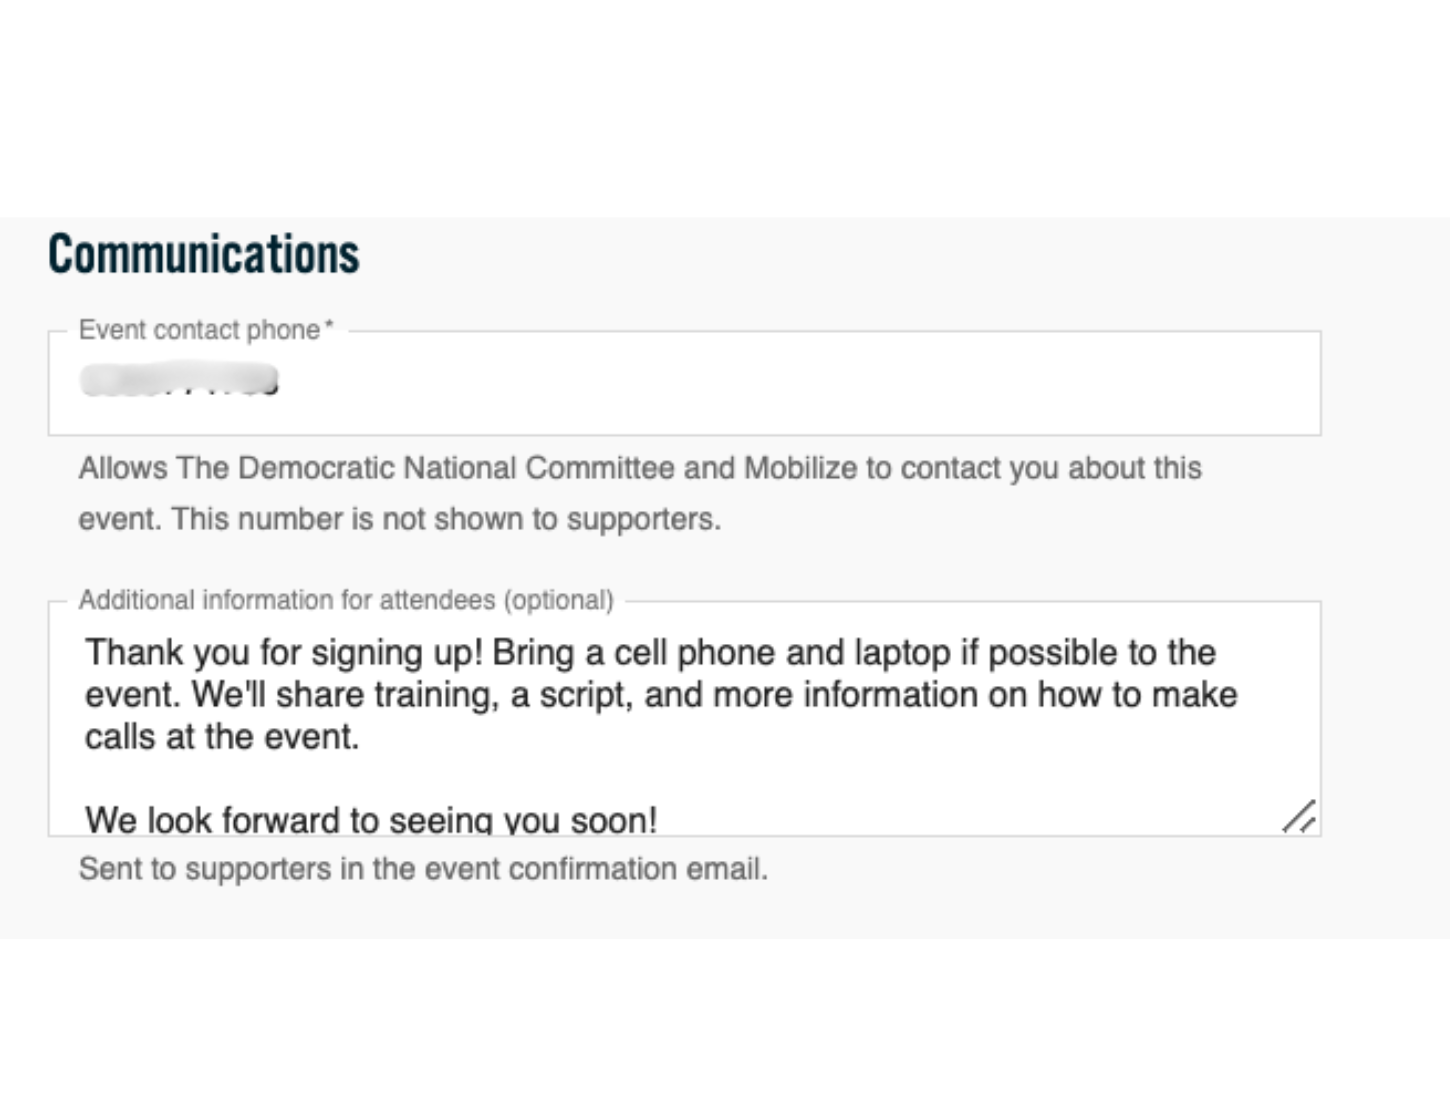
Communications: Add your phone number and any details you’d like to appear in the automated post-signup emails sent to attendees.
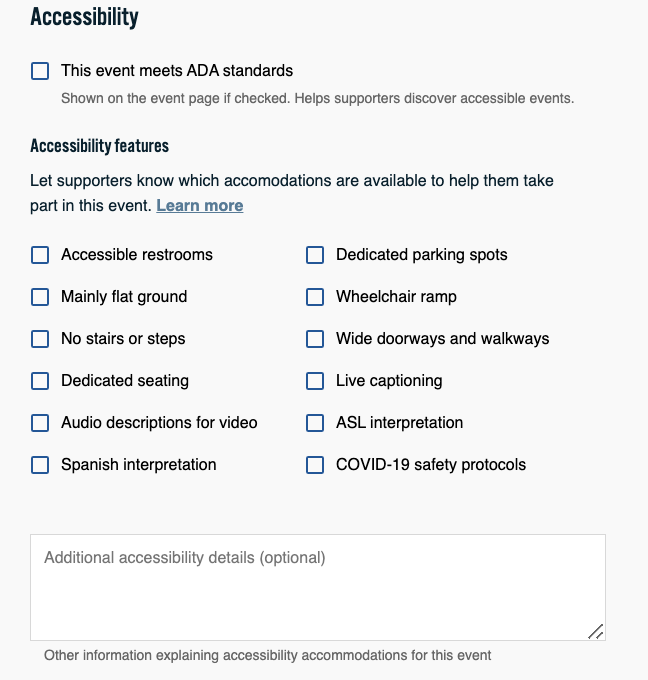
Accessibility: Check the applicable ADA standards and accessibility features boxes and provide any additional details.
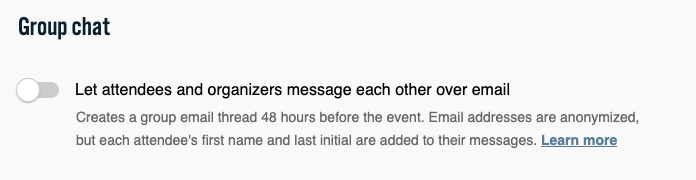
Group chat: Create an anonymous group email thread 48 hours before the event with all attendees.
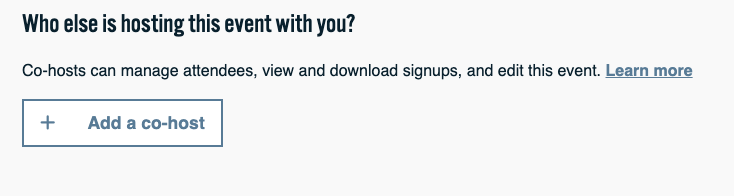
Add a co-host (optional): Co-hosts can edit event details and view the host dashboard. You can also add co-hosts after creating the event.
Finalize your event: Submit your event for approval.

Step 4: Approval
Events take 24 – 48 hours to be approved. Once your event is approved, you’ll be able to access a unique link to send invites. You’ll also be able to access a dashboard to manage your event.
MANAGE YOUR EVENT
Step 5: Send invites
Once your event is approved, you’ll have a unique link to send to your guests to ask them to RSVP.
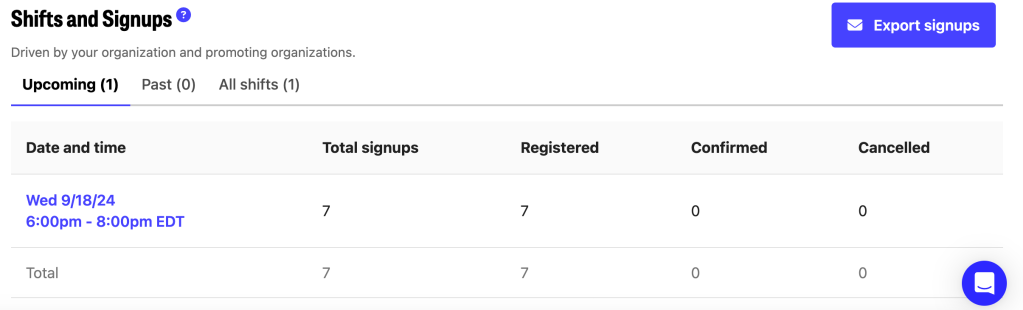
Step 6: Track RSVPs
From your event dashboard, you’ll be able to see who has said they can attend and who hasn’t signed up yet.
Step 7: Confirm attendees
Research shows that people are more
likely to attend an event if they receive a reminder and confirmation call (or
message!) before an event. Make sure
you do a round of confirmations before
your event and mark people as
“Confirmed.”
CLOSE YOUR EVENT
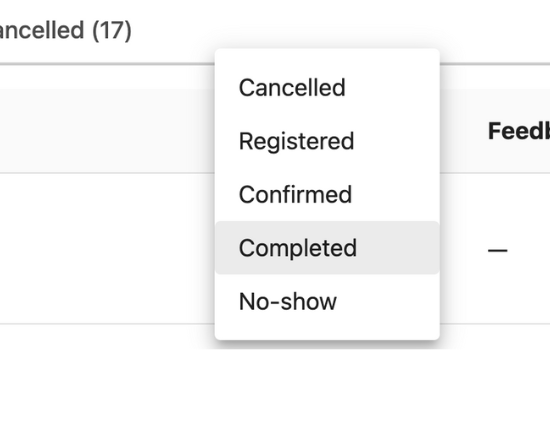
Step 8: Mark attendance
Congratulations on hosting your event! Once your event is over, go back and mark everyone as either “Completed”, “No Show” or “Cancelled.” This lets us know how many people were able to be there and how we can support you in the future.
Step 9: Send feedback
As part of closing your event, you’ll be able to send the campaign any feedback about how your event went or any challenges you encountered. Thank you for hosting!
In case you would like to view, print or share out the guide, you may download the PDF below: